 12 volt electric backpack Knapsack agricultural battery powered sprayer pump
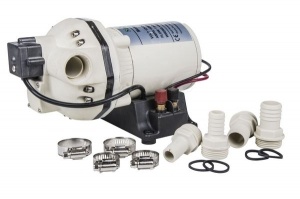
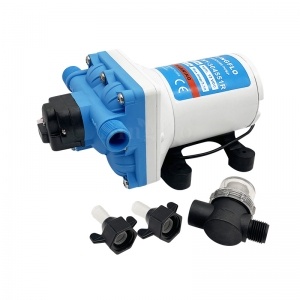
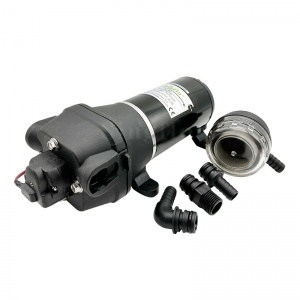 FL-35 12 volt 12.5Lpm on demand best marine motorhome RV diaphragm water pump for sale
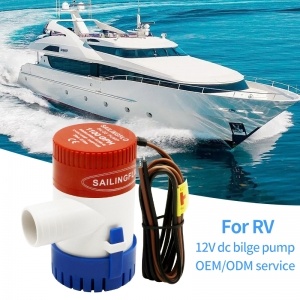 1100GPH DC Small Electric marine sailboat battery operated marine bilge pump factory
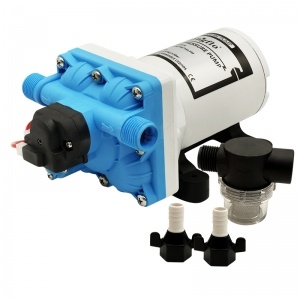
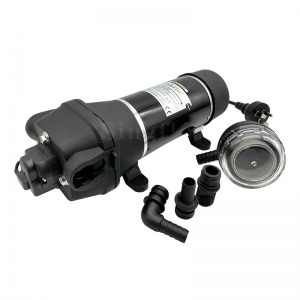 Singflo 220V AC FL-43 40PSI 17Lpm high flow marine sea water pump for caravan/boat
 Factory 1100GPH best small marine automatic bilge pump with float switch for boats
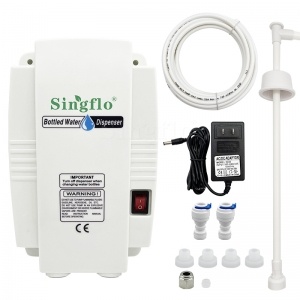 BW4003A AC Bottled Electric water bottled dispenser system pump for ice maker
 100psi DC small electric agriculture ATV sprayer pump
 best 35psi 4.3LPM 12 volt RV electric marine sea water pump for sale
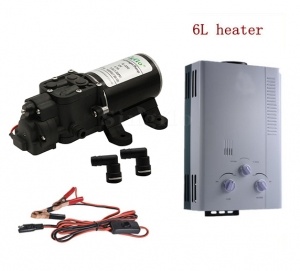 Portable gas hot water heater 65PSI 6.0LPM Self-priming water pump camping Caravan 4WD
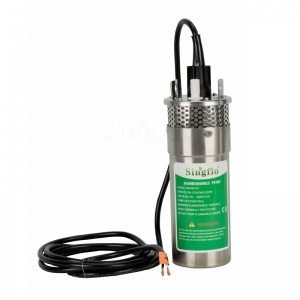 Factory YM2460-30 4'' 12LPM Submersible deep well solar powered bore water pumps Stainless Steel Body
 High capacity 20LPM 12v water pump 70PSI pressure raw water washdown pump
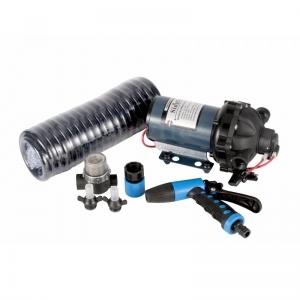 New 20LPM 70psi 12v marine super duty deck portable washdown pump kit
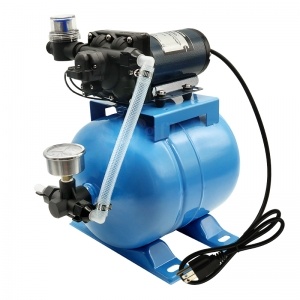 New 115V 3GPM 12.5LPM 40psi water booster diaphragm pump with 8L accumulator tank system
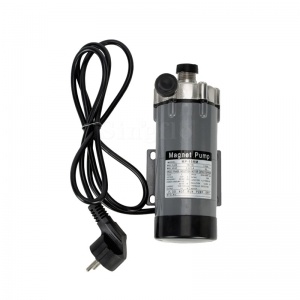 Manufacturer MP-15RM Homebrew Beer Magnetic Pump With Stainless Steel Head
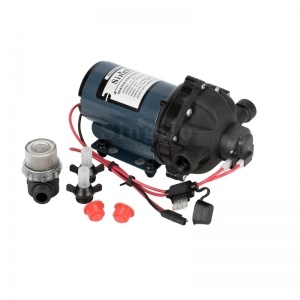
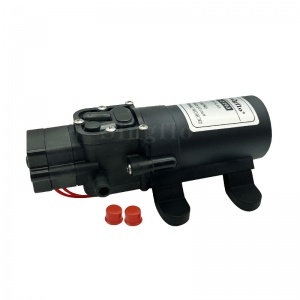
 Factory 30-50LPM 12V/24V High Flow Electric Diaphragm pump
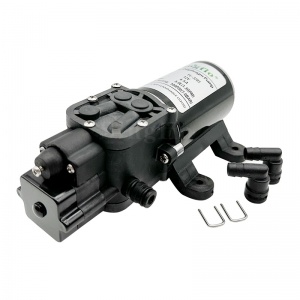
 Singflo FLO-2203 12 volt diaphragm water pump agricultural battery powered electric sprayer pump
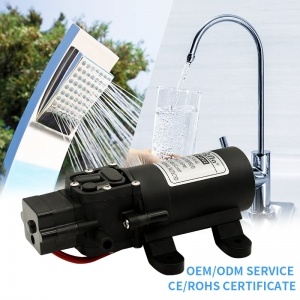
 New available 3GPM 12 volts 55psi RV diaphragm water freshwater system pump low noise pump
 Singflo HY-70601T 7GPM 12 volt small car wash 60psi agricultural 12v diaphragm water pump
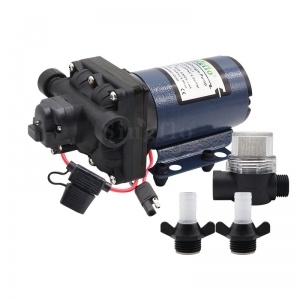
 Singflo 12V 3GPM 55psi heavy duty freshwater delivery RV water pump
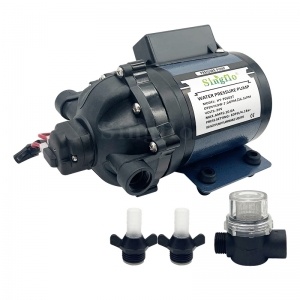
 Singflo 3GPM 4GPM 5GPM 55psi revolution marine 12v priming rv water pump
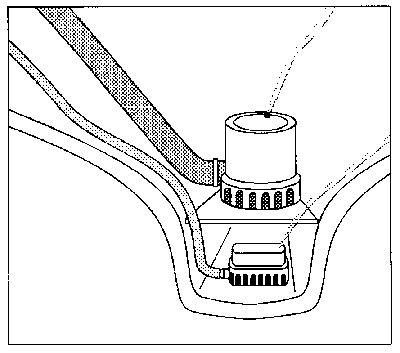
Bilge pump installation is straightforward, but it is essential not to overlook key details.
Mount the pump
You must not place the pump in the bilge unrestrained. If it falls over it will suck air and burn out. Marine Boat Bilge Pump must be fastened down. Brackets are available that attach to a stringer or other vertical feature, or you can epoxy a couple of bolts to the bottom of the bilge to serve as mounting studs.
Float switches must also be fastened.
Use smooth-bore hose
Corrugated hose reduces pump output by as much as 30%, so always connect the pump to the discharge fitting with hose that has a smooth interior surface.
Bends and long runs also reduce pump output, so make the hose run as straight and as short as possible. That may mean discharging the pump through the side of the hull rather than through the transom. However. . .
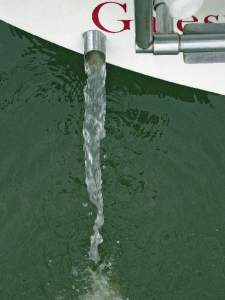
Place the discharge above the waterline
If the discharge is submerged when the pump runs, the ocean siphons back through the pump into the bilge when the pump shuts off. When enough water has entered to float the switch, the pump will eject it, only to have it siphon back again. This continues until the battery is depleted, then the water floods the boat until it reaches a level that gets the crew's attention.
The discharge fitting must never go below the waterline. If the fitting is through the transom, be sure it is high enough not to submerge when the stern squats. And if it is through the side of the hull, it must be high enough to remain above the water at the deepest angle of heel.
Use a thin-wall fitting
The through-hull fitting can further reduce pump capacity. To minimize this restriction, use a fitting with the largest possible opening.
Lead wiring up
It is essential to get the pump wiring out of the bilge as quickly as possible. Run the wires up and secure them so that they do not sag into the bilge water.
Don't skimp on wire size
A 3,500 gph pump will draw 15 amps, typically necessitating 10-gauge, or maybe even 8-gauge wire. Consult the ABYC Wire Size Table to determine the appropriate wire for your pump and length of wire run.
Use butt connectors and heat shrink
Crimp-on step-down butt connectors will assure a good mechanical and electrical connection between the supply wires and the pump leads. Enclose these connections in adhesive heat shrink tubing to make them water tight. You must slide the heat shrink over the wire and out of the way before you make the connections. Then center the tubing over the crimped connector and shrink it with a heat gun or by playing a flame beneath it. Be sure there are no explosive fumes in the bilge!
Connect to the battery
When you turn the power off to leave the boat unattended, you don't want to turn off the bilge pump. Connect an automatic bilge pump directly to the battery, not through the distribution panel.
Fuse the positive side
It is essential to have a fuse in the positive wire as close to the battery as possible. Some switch panels (see below) include a fuse. Otherwise join an in-line fuse holder to the battery end of the positive wire using a crimp butt connector.
Install terminal fittings
Do not strip the ends of the supply wires and loop them beneath the battery terminal wing nuts. Install crimp-on ring terminals the proper size to fit the threaded posts on your battery. Use a copper washer-not steel-between the wing nut and the ring terminal.
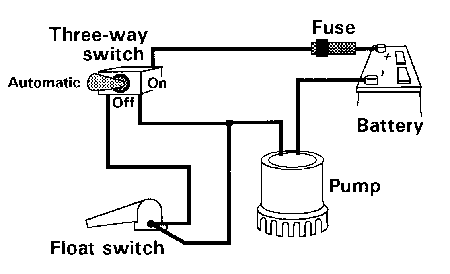
Three-way switch
If your bilge pump has a separate float switch, you may want to wire it to a three way switch that allows you to select automatic, on, or off. Be sure to support all wire runs at least every 18 inches using cable clamps or ties.
Two pumps
A bilge pump big enough to deal with a real emergency will do a poor job of keeping the bilge dry because the water in the discharge hose drains back into the bilge when the pump shuts off. And a big pump requires a big hose.
The ideal bilge pump arrangement is a small (400 gph) automatic bilge pump mounted in the sump to dispense with rain and shaft-gland leakage, combined with a high capacity pump (3,500 gph) mounted higher to deal with more serious ingress.
Stepping the discharge hose from the small pump down to 1/2-inch minimizes the backflow from the hose when the pump cycles, maintaining a dryer bilge. The large pump can be wired to a float switch if you prefer, but I think a manual switch makes more sense. An added advantage of this bilge pump configuration is that the high-capacity pump sits high and dry, extending its life indefinitely.
copyright © 2026 Xiamen Youme Electric Co., Ltd.. All Rights Reserved dyyseo.com
top
 English
 français
 Deutsch
 русский
 español
 português
 한국의
한국의 Türkçe
 Indonesia
 中文
中文
 singflo.pump1
 +8613599509863
 sales@singflo.com
 0086-13599509863